WordPress - WooCommerce plugin
Seamlessly integrate the OPAY payment system with WooCommerce store by following the Installation guide bellow.
Plugin version v1.5.16
Tested with WooCommerce versions:
2.0.20 - 8.4.x
Before you start
Before installing the OPAY payment system on your website, please ensure that the registration form on the OPAY website has been completed. If you have not registered yet, please do so first. After registration, you will receive the necessary credentials via email (Website ID, Signature Password, and User ID), which are required to proceed with the system integration.
Installation instructions
-
Move OPAY Plugin archive files to the WordPress directory and activate it. You can do this in
several ways. Here are two options:
Using the WordPress administration interface:
-
In the administration environment, go to Plugins -> Add New and click on Upload Plugin.
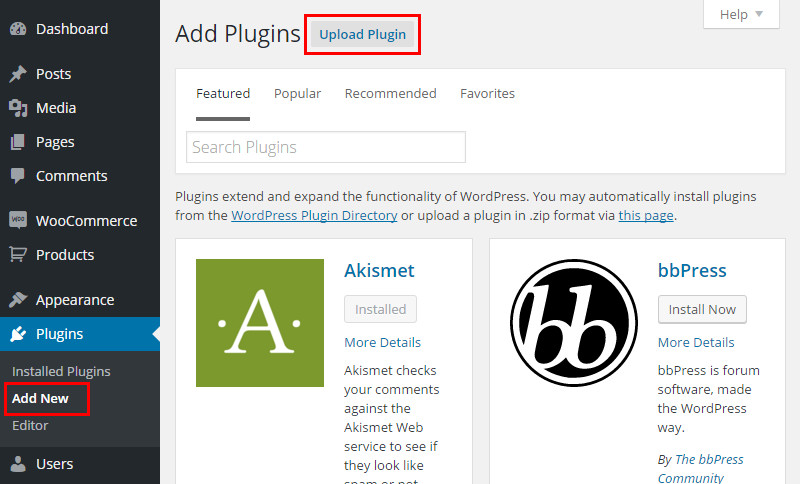
-
Select the OPAY plugin zip archive and click on Install Now. Once the plugin is installed, click on Activate to enable the plugin.

Using an FTP client program
-
Extract the contents of the OPAY plugin zip archive. Using an FTP client program, upload the extracted files to the WordPress plugins directory (wp-content/plugins).
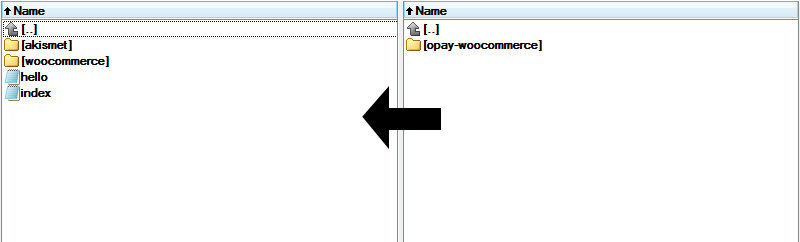
- In the administration environment, go to Plugins -> Installed Plugins and click on Activate next to the OPAY - WooCommerce plugin.
-
-
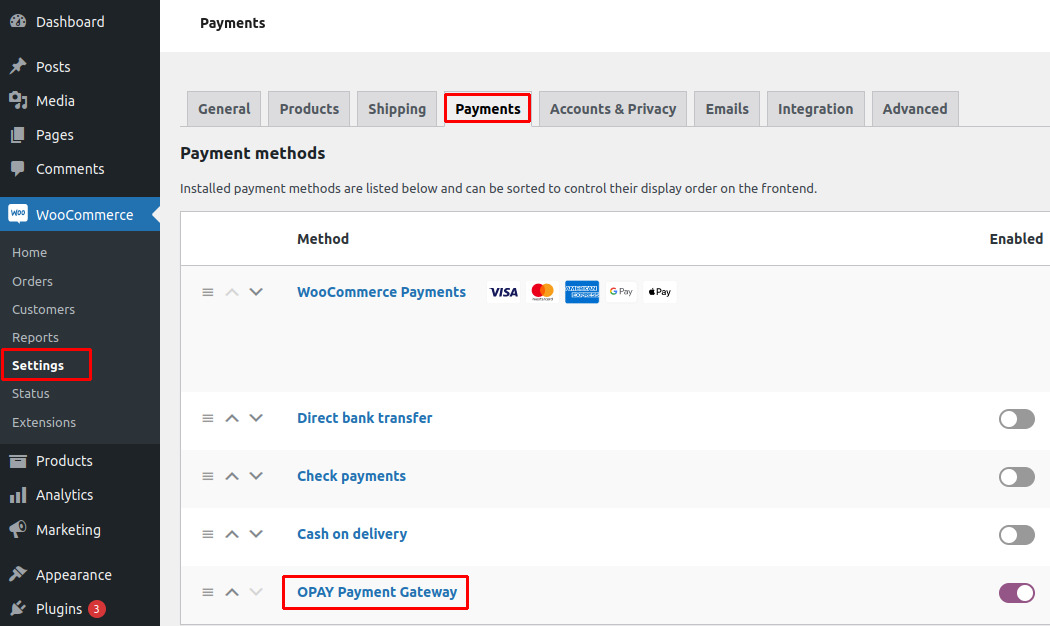
Go to WooCommerce -> Settings -> Payments -> OPAY Payment Gateway.
-
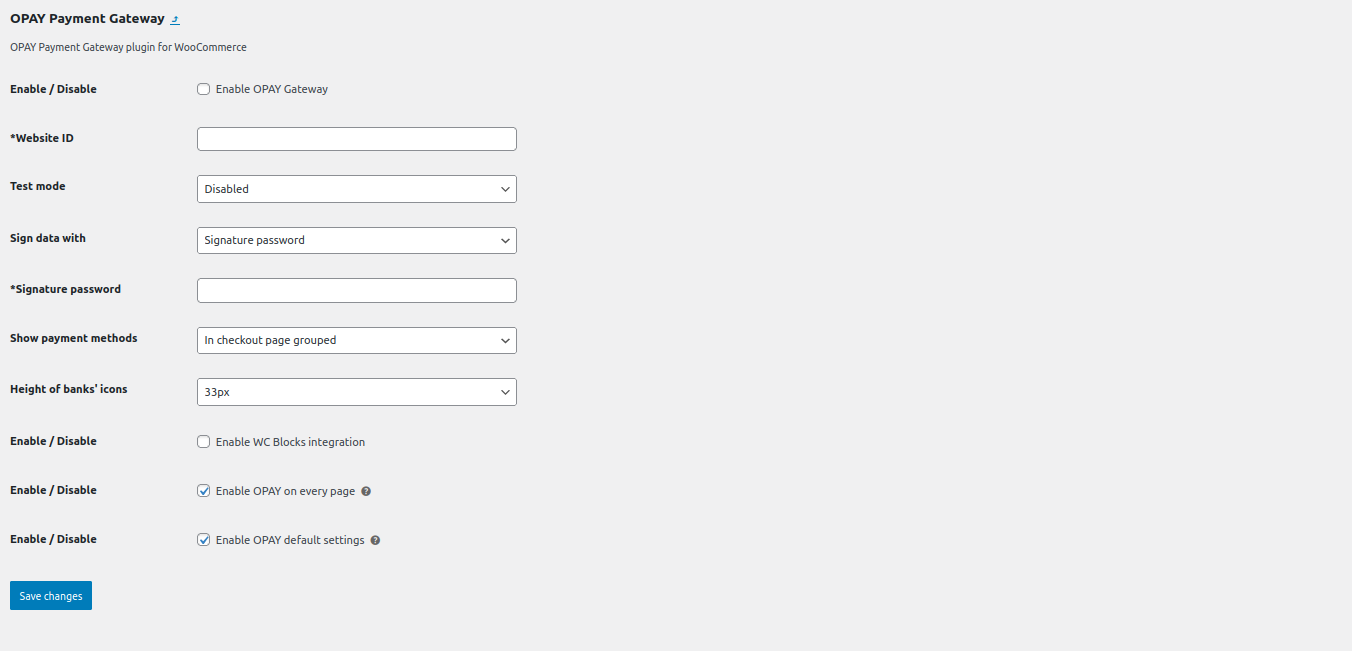
Configure the essential parameters by completing the mandatory settings. Toggle the Enable/Disable checkbox next to Enable OPAY Gateway and proceed to save the changes. In case your online store is not yet registered with the OPAY system, kindly complete the registration form to obtain all the required information for configuring the settings.
Please note: If you are utilizing WC Blocks integration, ensure that WC blocks integration is enabled. Failure to do so may result in the payment system not functioning properly.
- Accept payments!
Payment page customization
Customizing the payment page to match your brand’s style can significantly enhance the customer experience. We highly recommend doing so, as a branded payment page builds trust, strengthens the sense of security, and helps reduce cart abandonment.
Customization is quick and easy via the Payment Pages menu in the OPAY self-service portal. You can choose between two design styles, apply your brand color, upload a logo, and preview changes instantly.
Refunds
You can issue full or partial refunds using one of the following three options:
Option 1: 4-Eyes principle
- The refund is initiated in the WooCommerce admin panel.
- The refund must then be confirmed in the OPAY self-service portal.
- The refund is issued to the customer only after both steps are completed.
- Refund status is available in real time in both WooCommerce and OPAY portals.
- If a refund is not confirmed within 30 calendar days in OPAY it will be automatically canceled.
Option 2: Default setup
- The refund is initiated in the WooCommerce admin panel.
- No approval is required in the OPAY self-service portal.
- The refund is automatically issued to the customer immediately after it is initiated in the WooCommerce admin panel.
- Refund status is available in real time in both WooCommerce and OPAY portals.
Option 3: OPAY self-service
- The refund is initiated and processed directly in the OPAY self-service portal by selecting the relevant order.
- Refund status is available only in the OPAY portal and is not visible in the WooCommerce admin panel.
To change your refund settings, please contact us at [email protected] or by phone at +370 611 55554.